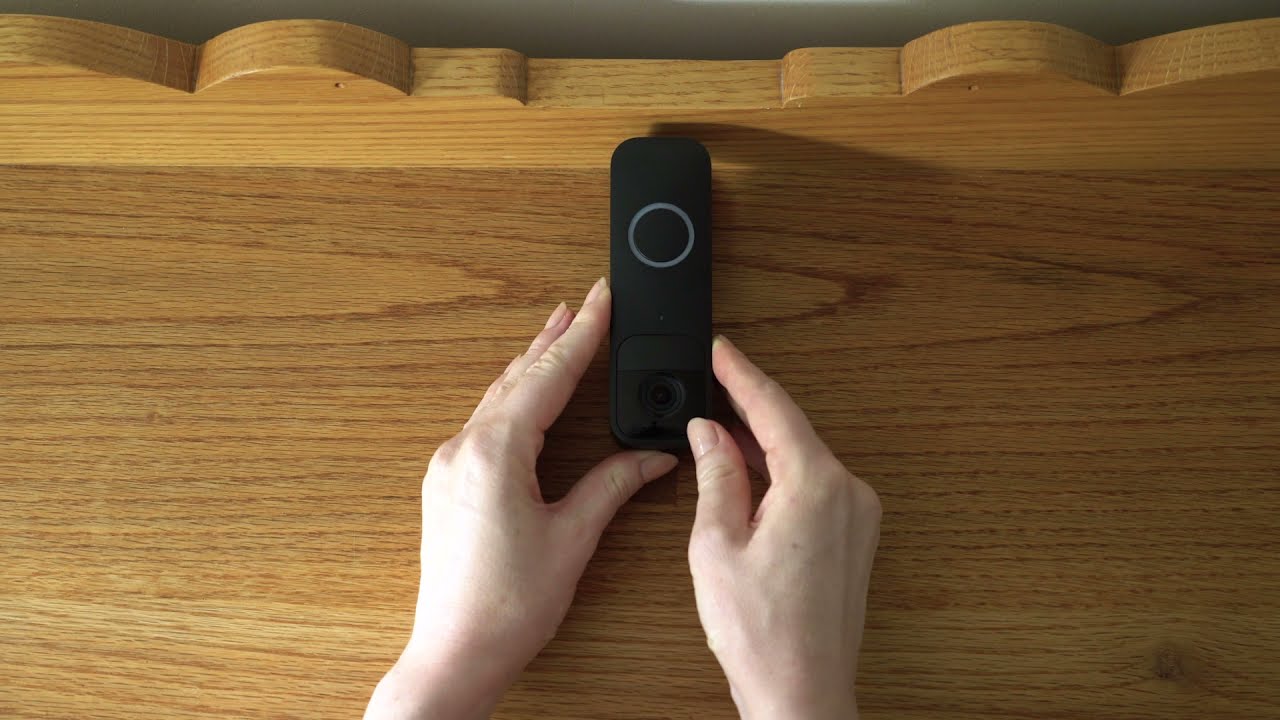
To attach the Blink Doorbell to the back plate, follow these steps: First, remove the protective film from the back plate. Second, align the holes on the doorbell with the screws on the back plate.
Finally, tighten the screws to secure the doorbell in place. Setting up a Blink Doorbell is an excellent way to enhance the security of your home. However, attaching the doorbell to the back plate may seem intimidating at first. Fortunately, the process is straightforward and can be completed in just a few simple steps.
In this guide, we will walk you through how to attach the Blink Doorbell to the back plate, ensuring a secure and reliable installation. By following these instructions precisely, you can have your Blink Doorbell up and running in no time, providing you with peace of mind and added protection for your property.
1. Tools Required
To attach the Blink Doorbell to the back plate, you will need a few tools. Here are the different types of tools that are required:
| Tool | Importance | Usage |
|---|---|---|
| Phillips screwdriver | Essential | Tighten screws to securely attach the back plate to the wall or door frame. |
| Level | Crucial | Ensure the back plate is aligned properly to maintain a level installation. |
| Drill | Important | Pre-drill holes for mounting screws in case of hard surfaces. |
| Power drill | Helpful | Use to facilitate screwing in screws, especially for tougher materials. |
| Tape measure | Useful | Measure and mark the desired location for accurate placement of the back plate. |
By having these tools ready, you will be fully equipped to successfully attach your Blink Doorbell to the back plate.
2. Preparing The Back Plate
When attaching a Blink Doorbell to the back plate, it is important to prepare the back plate properly for a secure installation.
To begin, start by cleaning the back plate thoroughly. Remove any dirt, dust, or debris using a soft cloth or mild cleaning solution. This will help ensure a clean surface for the adhesive to stick to.
Next, make sure the back plate is completely dry before attaching the Blink Doorbell. Any moisture on the surface can affect the adhesive’s effectiveness and may cause the doorbell to detach over time.
By following these steps and preparing the back plate correctly, you can ensure a solid and reliable attachment for your Blink Doorbell.
3. Mounting The Back Plate
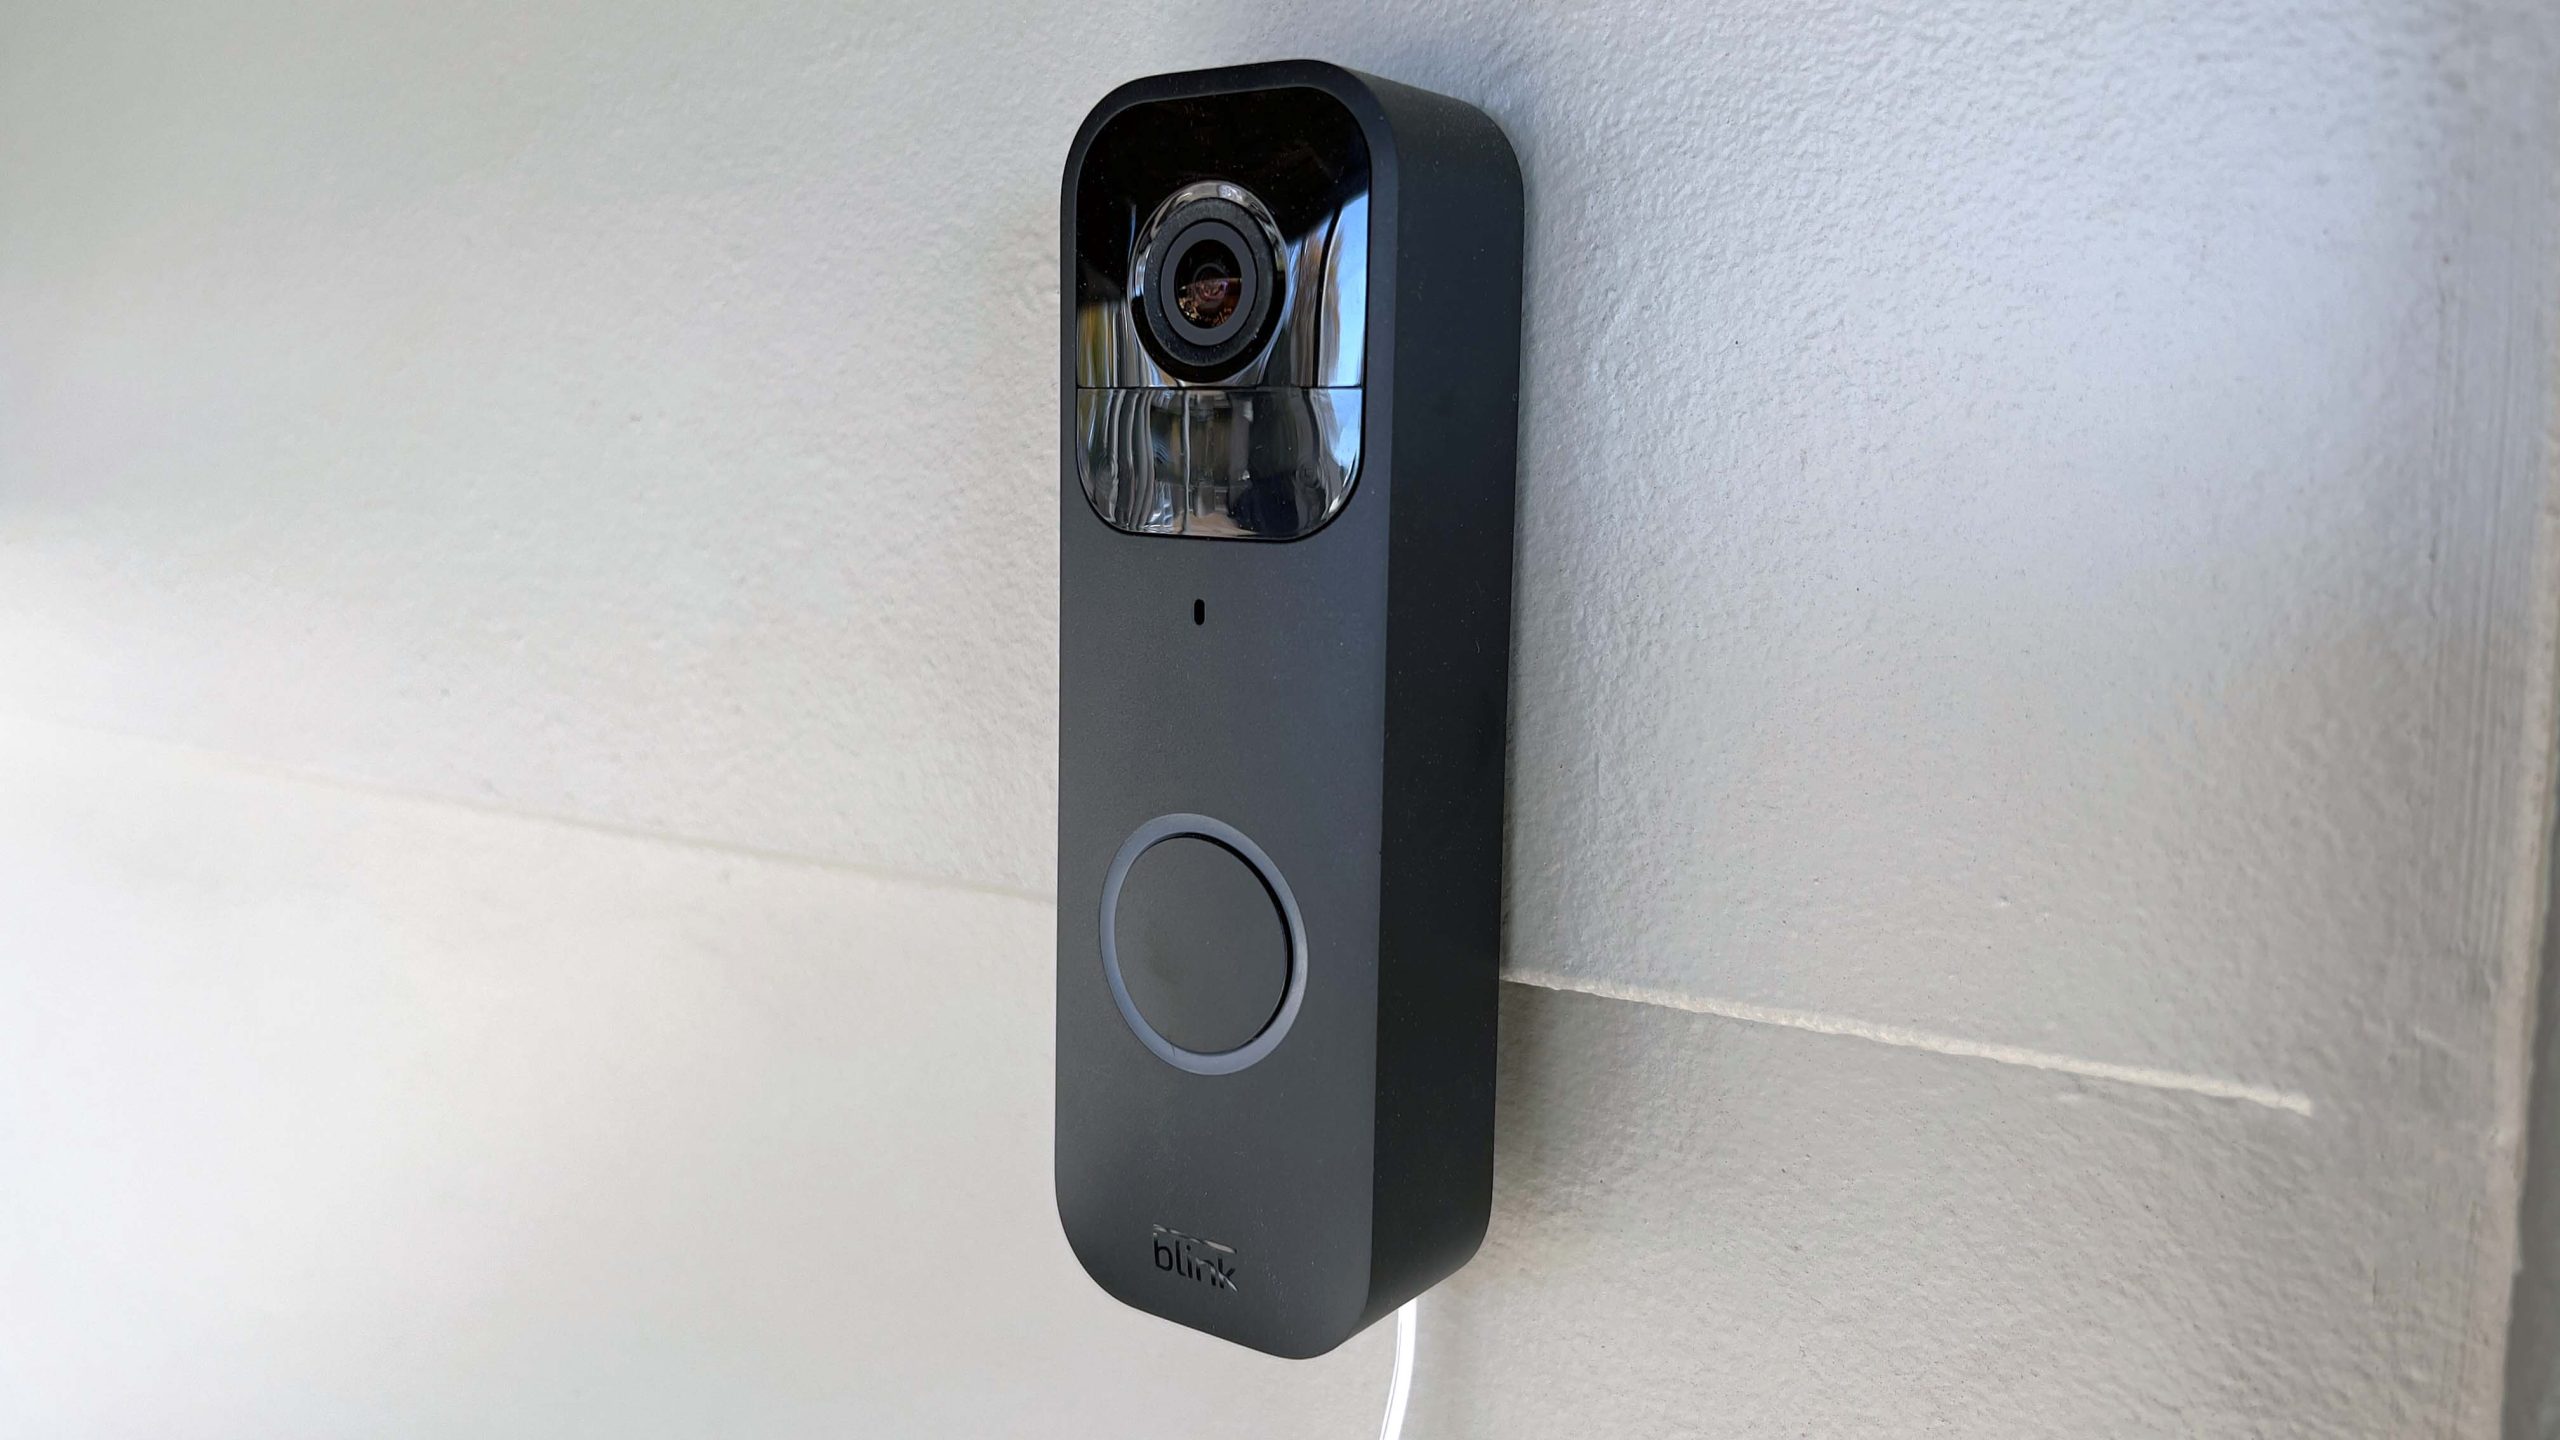
Mounting the back plate of your Blink Doorbell is an essential step in installing the device securely. Before attaching the back plate, you need to locate the ideal spot for your doorbell. This spot should provide good visibility and coverage of the area you want to monitor.
To locate the ideal spot, consider the following factors:
- Ensure the spot has a clear view of the entrance or area you want to record.
- Choose a location that is easily accessible for visitors to press the doorbell button.
- Avoid areas that are exposed to direct sunlight or extreme weather conditions, as they may affect the camera’s performance.
Once you have found the right spot, use a level or measuring tape to ensure the back plate will be mounted straight. Mark the holes on the wall using a pencil or marker, making sure they align with the holes on the back plate.
Now, you are ready to proceed with attaching the back plate, which will provide a secure and stable foundation for your Blink Doorbell.

Credit: www.amazon.com
4. Drilling The Holes
To attach your Blink Doorbell to the back plate, you will need to drill holes in the desired location. Choosing the right drill size is crucial to ensure a secure fit.
Start by selecting a drill bit that matches the size of the screws provided with the doorbell. It’s important to have a snug fit, as a hole that is too big may cause the screws to loosen over time.
When drilling the holes, be mindful of the surface you are drilling into. Use a steady hand and moderate pressure to avoid damaging the wall or doorframe. It’s recommended to start with a small pilot hole and gradually increase the size to fit the screws.
After drilling the holes, remove any debris and test the fit by placing the back plate over the holes. If it slides on easily, you’re ready to proceed with attaching the doorbell. If not, adjust the hole size accordingly.
5. Inserting The Anchors
When attaching a Blink Doorbell to the back plate, it is crucial to insert the anchors correctly. Selecting the right type of anchors is the first step. Consider the weight of the doorbell and the material of the wall. For heavier doorbells and walls made of concrete or brick, use plastic anchors. For lighter doorbells and walls made of drywall or wood, choose self-drilling anchors.
Next, carefully insert the anchors into the pre-drilled holes. Make sure they are flush with the surface and not sticking out. Use a hammer or a screwdriver to gently tap the anchors in. Avoid using excessive force that might damage the wall. Once the anchors are securely in place, you can proceed with attaching the back plate of the Blink Doorbell.
By following these steps and using the right anchors, you can ensure a secure attachment of your Blink Doorbell to the back plate. This will provide stability and proper functionality, enhancing your home’s security.
6. Attaching The Back Plate
When attaching the back plate of your Blink Doorbell, it is important to ensure proper alignment with the anchors. This step is crucial in securing the back plate securely and ensuring the stability of your doorbell.
Using screws to fasten the back plate further enhances its stability. This method ensures that the back plate remains firmly in place, minimizing the risk of any movement or dislodgement.
| Step | Description |
|---|---|
| 1 | Align the back plate with the anchors |
| 2 | Use screws to secure the back plate |
By following these steps, you can ensure that the Blink Doorbell is securely attached to the back plate, providing a reliable and efficient doorbell system for your home.
7. Connecting The Wires
When connecting the wires for your Blink Doorbell, it is important to first identify the wires correctly. There are usually two wires that need to be connected: the positive wire and the negative wire. The positive wire is typically red or labeled “+”, while the negative wire is usually black or labeled “-“. Make sure to double-check the labels or markings on the wires before proceeding.
Once you have identified the wires, you can attach them to the back plate of the doorbell. Match the positive wire to the positive terminal on the back plate, and the negative wire to the negative terminal. Securely tighten the screws to ensure a solid connection.
After attaching the wires, it is recommended to test the connection by turning on the doorbell and checking if it functions properly. If there are any issues, double-check the wire connections and ensure they are secure.
8. Testing The Connection
Once you have attached the Blink Doorbell to the back plate, it is crucial to verify that the doorbell is functional. This step ensures that everything is working as it should be and allows you to address any potential issues before finalizing the installation.
Begin by checking the power source. Ensure that the doorbell is properly connected to a power supply or battery and that it is receiving adequate power. You can do this by looking for any indicator lights or by testing the doorbell’s functionality.
If the doorbell is powered and still not functioning correctly, you may need to conduct troubleshooting. Check the Wi-Fi connection to ensure it is strong and stable. A weak or unreliable connection can affect the doorbell’s performance.
Additionally, make sure that the doorbell is properly configured and synced with your smartphone or other devices. This will allow you to receive notifications and access the live feed from the doorbell.
In conclusion, testing the connection of your Blink Doorbell is an essential step in the installation process. By verifying that the doorbell is functional and conducting necessary troubleshooting, you can ensure a smooth and efficient operation of your home security system.
9. Securing The Doorbell
Properly securing the Blink Doorbell to the back plate is crucial for its stability and durability. The doorbell attaches to the back plate using screws provided in the installation kit. Before fastening the doorbell, ensure that the back plate is securely mounted to the desired surface, such as a wall or doorframe, using the appropriate screws or adhesives.
Once the back plate is securely attached, align the screw holes on the back of the doorbell with the holes on the back plate. Insert the provided screws through the holes and tighten them using a screwdriver or drill. Ensure that the screws are firmly and evenly tightened to prevent any wobbling or loosening of the doorbell.
If necessary, use a level to ensure that the doorbell is properly aligned and straight. Adjust the positioning as needed before fully tightening the screws. Finally, double-check the tightness of the screws to ensure the doorbell is firmly attached and won’t become loose over time.
10. Final Adjustments
In the final adjustments phase of attaching the Blink Doorbell to the back plate, two important aspects need to be considered: adjusting the angle of the doorbell and optimizing motion detection settings.
To ensure proper positioning and functionality, it is crucial to adjust the angle of the doorbell. Make sure the camera is facing the desired viewing area and that there are no obstructions that could hinder the detection and recording of motion events.
Additionally, optimizing the motion detection settings plays a vital role in the overall performance of the doorbell. Adjust the sensitivity level according to your specific needs, considering factors like the proximity of the doorbell to the activity area and environmental conditions.
To summarize, make sure to adjust the angle of the doorbell and optimize the motion detection settings to ensure optimal performance and functionality of your Blink Doorbell.
11. Maintenance And Care
When attaching your Blink doorbell to the back plate, it’s important to take proper care and regularly maintain it. Here are some tips to help you in maintaining your doorbell.
- Regularly clean the back plate using a soft cloth or sponge.
- Avoid using harsh chemicals or abrasive materials that could damage the surface.
- Make sure to remove any dirt, dust, or debris that may accumulate over time.
- Avoid exposing the back plate to extreme temperatures or direct sunlight, as this can cause damage.
- Consider using a protective cover or case to shield the back plate from the elements.
- Regularly check for any signs of wear or damage and address them promptly.
By following these simple maintenance tips, you can ensure that your Blink doorbell stays in good condition and continues to function properly for years to come.
12. Troubleshooting Common Issues
The Blink Doorbell can sometimes encounter common issues that might require troubleshooting. Here are some potential causes and solutions to help address these problems:
| Potential Problem | Solution |
|---|---|
| The doorbell does not connect to the Wi-Fi network | Make sure your Wi-Fi network is functioning properly, check the Blink Doorbell’s Wi-Fi settings, and enter the correct network credentials. |
| The doorbell has poor video quality | Ensure that the doorbell is properly positioned and has a clear view, check your internet connection speed, and optimize your router’s settings if necessary. |
| The motion detection feature is not working | Adjust the sensitivity settings of the motion detection feature, verify that the camera lens is clean and free of obstructions, and ensure that the doorbell is installed within the recommended range. |
| The doorbell’s battery drains quickly | Enable power-saving mode if available, ensure that the doorbell is properly charged, and consider reducing the frequency of motion alerts or adjusting other settings to optimize battery usage. |
| The doorbell does not ring when pressed | Check the configuration of the doorbell’s chime settings, ensure that the doorbell is properly wired to the back plate, and test the functionality of the chime unit. |
By addressing these common issues, you can ensure a smooth and reliable experience when attaching your Blink Doorbell to the back plate.
Frequently Asked Questions For How To Attach Blink Doorbell To Back Plate
How Do You Mount A Blink Doorbell On A Back Plate?
Mounting a Blink doorbell on a back plate is simple. First, attach the back plate to the desired surface using screws. Then, align the doorbell with the back plate and firmly press it into place. Ensure a secure fit.
How Do I Attach The Blink Doorbell?
To attach the Blink doorbell, follow these steps: 1. Start by mounting the doorbell on a flat surface near your door. 2. Connect the doorbell’s wiring to your existing doorbell wiring or use batteries. 3. Download the Blink app and follow the instructions to set up the doorbell.
4. Connect the doorbell to your Wi-Fi network. 5. Test your doorbell to ensure it’s working properly.
Do You Need A Mounting Kit For Blink Doorbell?
Yes, a mounting kit is required for the Blink doorbell.
How Do You Mount A Blink Video Doorbell Corner Mount?
To mount the Blink video doorbell corner mount, follow these steps: 1. Attach the corner mount bracket to the wall or corner using screws. 2. Align the doorbell with the bracket and secure it in place. 3. Adjust the angle as needed.
4. Ensure the doorbell is level and tighten all screws.
Conclusion
To sum up, attaching the Blink Doorbell to the back plate is a simple yet important process for the proper functioning of your home security system. By following the step-by-step instructions provided in this blog post, you can effortlessly install your Blink Doorbell and enjoy its benefits.
Remember, a well-installed doorbell ensures the safety and peace of mind you deserve. So, grab your tools and get ready to enhance your home security today!

Leave a Reply