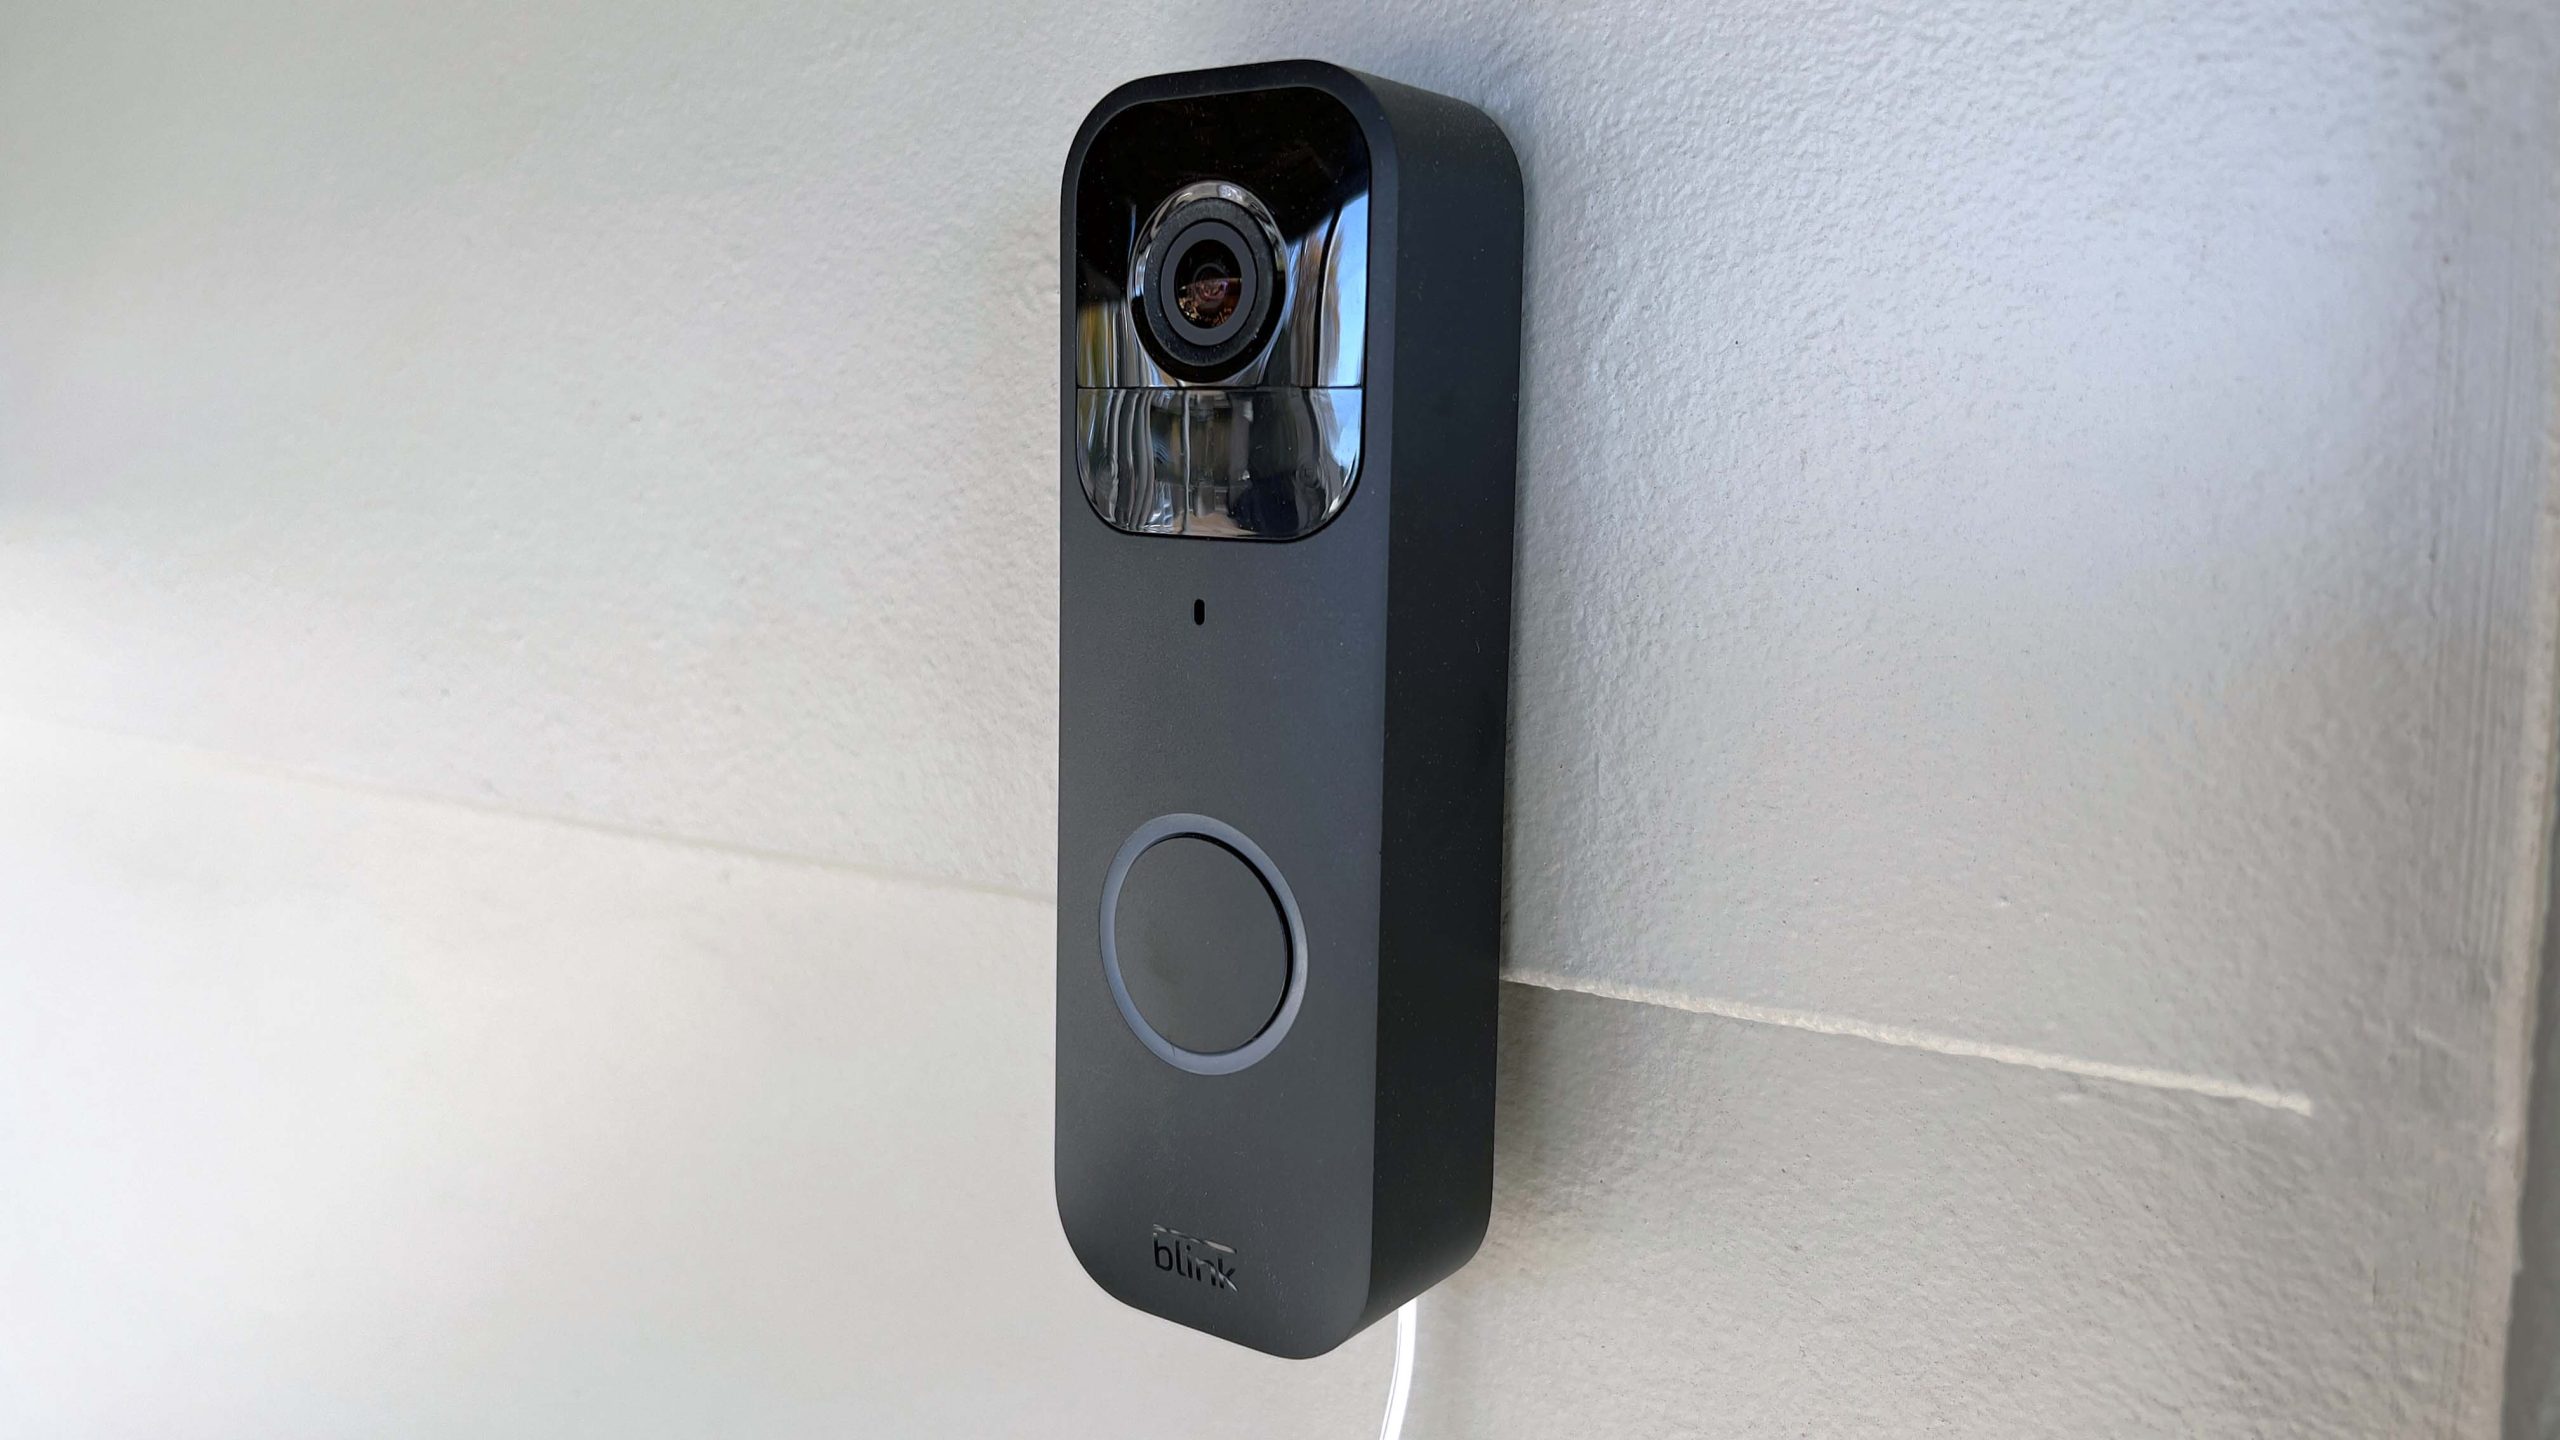
To install the Blink Doorbell Camera, follow the manufacturer’s instructions and use the provided mounting hardware and tools. Introducing the Blink Doorbell Camera can enhance the security of your home with its easy installation process.
Whether you are a DIY enthusiast or a beginner, setting up the Blink Doorbell Camera is a breeze. By following the manufacturer’s instructions and utilizing the mounting hardware and tools provided, you can have the camera up and running in no time.
This compact and innovative device offers a convenient way to monitor your doorstep, ensuring peace of mind and improved home security. We will guide you through the step-by-step process of installing the Blink Doorbell Camera, giving you the confidence to enhance the safety of your home effortlessly.
Determine The Placement
When installing a Blink Doorbell Camera, one of the key considerations is determining the placement. Choosing the ideal location for your doorbell camera is crucial in ensuring optimal performance and security. Several factors should be kept in mind while selecting the placement spot.
- Firstly, consider the field of view. Ensure that the chosen location provides a wide angle of coverage, minimizing blind spots and capturing the desired areas.
- Secondly, take into account the height of the camera. Mounting the doorbell camera at an appropriate height is important to capture clear images and avoid obstructions.
- Next, consider accessibility. Ensure that the camera is easily accessible for maintenance and battery replacement.
- Another important factor is the lighting conditions. Choose a location that is well-lit to enhance the camera’s visibility and image quality, especially during nighttime.
- Lastly, consider the wireless connectivity. Select a spot where the doorbell camera can maintain a strong and stable Wi-Fi connection for seamless operation.
By carefully considering these factors, you can determine the best placement for your Blink Doorbell Camera, ensuring optimal performance and peace of mind.
Gather Necessary Tools
In order to install the Blink Doorbell Camera, you will need to ensure that you have all the necessary tools beforehand. Here is a list of tools required for installing the Blink Doorbell Camera:
| 1. | Drill |
| 2. | Screwdriver set |
| 3. | Anchors and screws |
| 4. | Level |
| 5. | Tape measure |
| 6. | Wire strippers |
| 7. | Power drill |
| 8. | Pencil or marker |
| 9. | Ladder (if necessary) |
Make sure to gather all these tools before starting the installation process to ensure a smooth and hassle-free experience.
Preparation Steps
Preparation Steps – Safety precautions to take before starting the installation:
- Gather all the tools and equipment required for the installation process, including a drill, screws, a level, and a screwdriver.
- Ensure that you have read and understood the instruction manual provided by the manufacturer.
- Turn off the power supply in the area where you will be installing the Blink Doorbell Camera.
- Wear protective gloves and goggles to avoid any potential injuries.
- Choose a suitable location for mounting the camera, considering factors such as the field of view, accessibility, and aesthetics.
- Check the internet connectivity in the area to ensure a stable connection for the camera.
- Prepare the mounting surface by cleaning it and ensuring it is level and secure.
- Prepare any additional wiring or cables required for the installation.
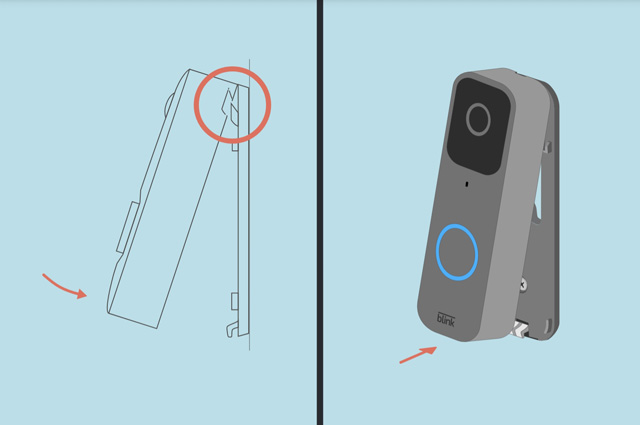
Mounting The Camera
To properly install your Blink doorbell camera, it is crucial to choose the most suitable mounting option for your specific setup. This step-by-step process will guide you through the proper mounting of your camera.
- Start by selecting the appropriate location for your camera, making sure it provides the best field of view for your needs.
- Ensure the mounting surface is clean and dry, as this will help with the adhesive or screw installation.
- If you are using the adhesive mounting option, remove the protective film from the adhesive pad and firmly press it onto the desired surface.
- For screw installation, use the provided screws and carefully attach the camera bracket to the chosen surface.
- Align the camera with the bracket and firmly attach it. Ensure it is securely in place.
- If necessary, adjust the camera angle to optimize the view and functionality.
- Lastly, check the mounting to ensure it is stable and secure before proceeding with the camera setup.
By following these step-by-step instructions, you can mount your Blink doorbell camera effectively, providing you with reliable security and peace of mind.
Connecting The Wires
Properly connecting the wires of your Blink Doorbell Camera is crucial to avoid any issues during installation. To understand the wiring connections, it is important to follow the instructions provided by Blink. The wires typically consist of a power wire, a ground wire, and a connection wire.
Connect the power wire to a power source, ensuring that it is securely attached. The ground wire should be connected to a suitable grounding point to eliminate any electrical hazards. Lastly, connect the connection wire to the designated terminals on the Blink Doorbell Camera. It is important to ensure that each wire is connected firmly to avoid any loose connections that may result in malfunctioning.
By carefully following these steps and referring to the Blink Doorbell Camera’s manual, you can successfully connect the wires and proceed with the installation process. Always prioritize safety and double-check all connections before completing the installation.
Powering Up The Device
Learn how to effortlessly install the Blink Doorbell Camera and power up your device. Follow these simple steps for a seamless setup process.
Explaining The Power Supply Options For The Camera
In order to power up your Blink Doorbell Camera, you have various options available:
| Power Supply Option | Description |
|---|---|
| Battery Power | This is the easiest option as it allows you to install the camera without any wiring. Simply insert the appropriate batteries, following the instructions provided in the user manual. Make sure to use good quality batteries for optimal performance. |
| Hardwired Power | If you prefer a more permanent power solution, you can connect the camera to an existing doorbell wiring or electrical circuit. This requires some electrical knowledge and wiring skills, so if you’re not comfortable with this, it’s best to consult a professional electrician. |
| Solar Power | If you want to go green and reduce the need for battery replacements, you can consider using solar power. Blink offers a solar power option specifically designed for their doorbell cameras. It harnesses energy from the sun to provide a continuous power source for your camera. |
Regardless of the power supply option you choose, it’s crucial to carefully follow the step-by-step guide provided in the user manual to ensure a successful and safe installation. Remember to test your camera after installation to verify that it is properly powered up and functioning as expected.
Syncing With The Blink App
To sync your Blink doorbell camera with the Blink app, you first need to download and install the app on your smartphone. Start by visiting the app store on your device and searching for “Blink Home Monitor”. Once you find the app, tap on the “Install” button to start the download. Once the app is downloaded, open it on your smartphone.
After opening the app, you will be prompted to sign in or create a new account. If you already have a Blink account, simply sign in using your username and password. If you are a new user, tap on the “New Account” button and follow the on-screen instructions to create a new Blink account.
Once you are signed in, the app will guide you through the setup process. Follow the on-screen instructions to connect your Blink doorbell camera to the app. This usually involves scanning a QR code or entering a unique identification code located on the device or its packaging.
After successfully connecting your doorbell camera to the app, you’re ready to start using it. From the Blink app, you can access live video feeds, view recorded footage, adjust settings, and receive alerts and notifications whenever activity is detected at your front door.
By following these simple steps, you can easily sync your Blink doorbell camera with the Blink app and enjoy the convenience and security it provides.
Adjusting Camera Settings
To get the most out of your Blink Doorbell Camera, it’s important to adjust the camera settings according to your preferences. There are various camera settings available that you can customize to enhance your overall experience. These settings allow you to personalize the camera’s behavior and tailor it to your specific needs. Whether you want to adjust motion detection sensitivity, enable or disable night vision, or fine-tune the camera’s recording length, it’s all possible with the Blink Doorbell Camera. You can also set up activity zones to specify where the camera should focus its attention. Additionally, you have the option to adjust video quality, enable two-way audio, and manage notifications. By familiarizing yourself with these camera settings and customizing them to your liking, you can optimize the performance of your Blink Doorbell Camera and ensure it aligns perfectly with your requirements.
Testing The Camera
Testing the Blink Doorbell Camera is an essential step to ensure it is functioning properly and will meet your security needs. Conducting a test enables you to verify if all the features of the camera are working as expected. Here are a few important things to check during the testing process:
- Verify that the camera is securely installed and positioned to capture the desired area.
- Check if the camera lens is clean and free from any obstructions that may affect the image quality.
- Ensure that the camera is properly connected to power and Wi-Fi for seamless operation.
- Test the motion detection functionality by moving in front of the camera and observe if it captures and sends notifications.
- Try the two-way audio feature to see if you can hear and communicate with anyone at the door.
- Test the night vision capability by turning off the lights and checking if the camera still provides clear images in low-light conditions.
By thoroughly testing the Blink Doorbell Camera, you can be confident that it is ready to keep your home secure and provide you with peace of mind. So, make sure to run these tests before relying on the camera’s functionality.
Troubleshooting Common Issues
Having trouble installing your Blink doorbell camera? Check out our troubleshooting guide for step-by-step instructions to resolve common issues and get your camera up and running smoothly.
Troubleshooting Common Issues:Identifying and resolving common installation problems:Check your Wi-Fi connection: Ensure that your Wi-Fi network is working properly and that the doorbell’s signal is strong. Move your router closer to the doorbell or use a Wi-Fi extender if necessary. 2. Verify power supply: Make sure that the Blink Doorbell Camera is receiving adequate power. Check the wiring and ensure that the power source is functioning correctly. 3. Reset the device: If you’re experiencing persistent issues, try resetting the doorbell camera. Press and hold the reset button for about 15 seconds until the camera’s LED indicator flashes blue. 4. Update firmware: Ensure that you have the latest firmware version installed on your doorbell camera. Check the manufacturer’s website for any available updates and follow the instructions to update the firmware. 5. Contact customer support: If the problem persists, reach out to Blink’s customer support for further assistance. They have trained technicians who can help troubleshoot and resolve any technical issues you may be facing. By following these troubleshooting tips, you can quickly identify and resolve common installation problems with your Blink Doorbell Camera.Additional Features And Upgrades
Exploring optional features and upgrades for your doorbell camera
When it comes to enhancing the functionality and capabilities of your camera, there are several options available. These additional features and upgrades can improve the overall security and convenience of your home. One popular feature is two-way audio communication, which allows you to communicate with visitors at your door directly from your smartphone.
Advanced motion detection is another valuable upgrade that can help you differentiate between people, animals, and other movement near your door. This feature ensures that you receive accurate and relevant notifications.
If you’re concerned about package theft, package detection is a must-have feature. This technology can alert you when a package is delivered, so you can promptly retrieve it and prevent theft.
Cloud storage is also an important feature to consider. With cloud storage, you can securely store and access recorded videos from your camera, providing an extra layer of protection.
Additionally, some doorbell cameras offer night vision capabilities, allowing you to monitor your doorstep even in low-light conditions. This is especially useful for maintaining security during nighttime hours.
In conclusion, by exploring and utilizing the optional features and upgrades available for your doorbell camera, you can maximize its capabilities and enhance the security of your home.
Final Thoughts
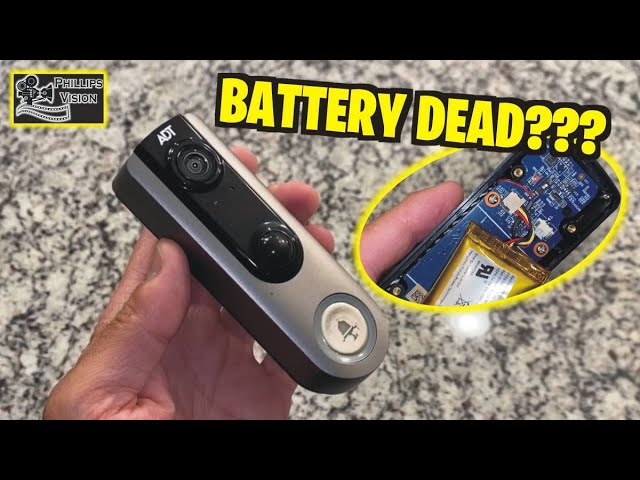
If you are considering installing a Blink doorbell camera, there are a few tips and recommendations that can help you maintain it effectively. First and foremost, make sure to regularly clean the camera lens to ensure clear and crisp footage. This will help you identify any potential intruders or visitors to your home. Secondly, regularly check the battery level and recharge it when necessary to avoid any downtime in your security system. Additionally, it is important to keep the camera firmware up to date to benefit from the latest features and improvements. Lastly, consider positioning the camera in an optimal location to capture the best view of your front door. By following these simple maintenance steps, you can ensure that your Blink doorbell camera continues to provide reliable and accurate surveillance for your home.

Credit: www.amazon.com
Frequently Asked Questions Of How To Install Blink Doorbell Camera
How Do You Install A Blink Doorbell And Camera?
To install a Blink doorbell and camera, follow these steps: 1. Place the device near your front door. 2. Download the Blink Home Monitor app. 3. Create an account and log in. 4. Follow the in-app instructions to add the doorbell and camera to your account.
5. Connect the devices to a power source, and you’re ready to go.
Does Blink Doorbell Need To Be Wired?
Blink doorbell can either be wired or wireless, providing flexibility for installation.
Do You Need A Mounting Kit For Blink Doorbell?
No, a mounting kit is not required for the Blink doorbell. It comes with a built-in mounting system for easy installation.
Does A Blink Doorbell Ring Inside The House?
Yes, the Blink doorbell rings inside the house when someone presses the button.
Conclusion
To sum up, installing the Blink Doorbell Camera is a straightforward process that offers a range of benefits. With just a few simple steps, you can enhance the security of your home and keep an eye on your property 24/7.
By following this guide, you can ensure a successful installation and enjoy the convenience of a reliable doorbell camera. Don’t wait any longer – get started and experience the peace of mind that comes with a Blink Doorbell Camera.
Leave a Reply