To set up a doorbell camera, first, choose an appropriate location near your front door and ensure a stable Wi-Fi connection. Then, follow the manufacturer’s instructions to install the camera and connect it to your smartphone or other devices for monitoring purposes.
With the advancements in technology, protecting your home has become more convenient than ever. Doorbell cameras offer the perfect solution to enhance your home security. By installing a doorbell camera, you can monitor your front door remotely, receive notifications in real-time, and even communicate with visitors using your smartphone.
Setting up a doorbell camera is relatively easy and can be done in a few simple steps. We will guide you through the process of setting up a doorbell camera, so you can enjoy the benefits of added security and peace of mind.
Factors To Consider
When setting up a doorbell camera, there are several factors to consider in order to ensure that you get the best experience and functionality. One important factor is the video quality of the camera. Look for a doorbell camera that offers high-definition video with a clear and sharp image.
Field of view is another crucial consideration. The wider the field of view, the more area the camera can cover, allowing you to see more of what’s happening around your front door.
Two-way audio is a useful feature that allows you to communicate with visitors through the camera. This is particularly handy for delivery drivers or unexpected guests.
Having a doorbell camera with night vision capabilities is essential for monitoring your front door even in low light or dark conditions. It ensures that you can still capture clear footage and identify people at any time of day.
Motion detection is a key feature that alerts you whenever someone approaches your front door. Look for a camera with adjustable sensitivity levels, so you can avoid false notifications from things like passing cars or animals.
Consider the compatibility with your existing doorbell to make the installation process easier. Many doorbell cameras can be connected to your existing doorbell wiring, eliminating the need for additional wiring.
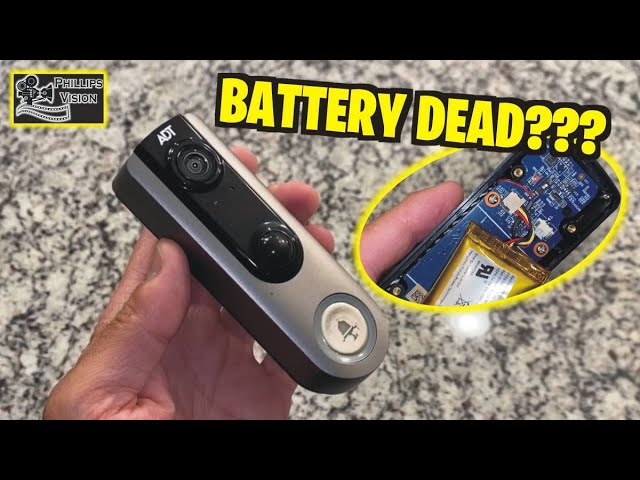
Lastly, consider the power options. Some doorbell cameras are battery-powered, while others require a constant power source. Depending on your preferences and the wiring setup of your home, choose the option that suits you best.
Gathering The Necessary Tools
- Screwdriver
- Power drill
- Spirit level
- Tape measure
- Wire strippers
When setting up a doorbell camera, it is important to have the right tools on hand. You will need a screwdriver to secure the camera in place. A power drill can be useful for drilling holes if needed. A spirit level will ensure that the camera is installed straight and level. To measure distances accurately, a tape measure will come in handy. Lastly, wire strippers will help you prepare the wires for installation.
Having these tools readily available will make the process of setting up your doorbell camera much smoother.
Checking Requirements And Compatibility
To set up a doorbell camera, you need to check a few requirements and ensure compatibility. The first requirement is internet connectivity, which is essential for the camera to function properly. Make sure that you have a stable and reliable Wi-Fi signal strength in the area where you plan to install the camera. This will ensure smooth and uninterrupted video streaming.
Additionally, check that the doorbell camera is compatible with your smartphone or tablet. Most doorbell cameras offer apps that allow you to monitor and control the camera from your mobile device. Ensure that the camera is compatible with the operating system of your device.
Turning Off Power To The Existing Doorbell
Turning off the power to your existing doorbell is an important first step in setting up a doorbell camera. To do this, you need to locate the doorbell’s circuit breaker. Here is how you can turn off the power:
- Step 1: Go to your home’s electrical panel.
- Step 2: Look for the circuit breaker labeled “doorbell” or “entryway”.
- Step 3: Flip the corresponding switch to the “off” position.
- Step 4: Test the doorbell to ensure the power is off by pressing the button.
If the doorbell doesn’t ring, you can proceed with setting up your doorbell camera. It’s essential to turn off the power to prevent any electrical accidents while working with the doorbell wiring. Remember to follow manufacturer instructions for your specific doorbell camera model for further setup.
Removing The Existing Doorbell
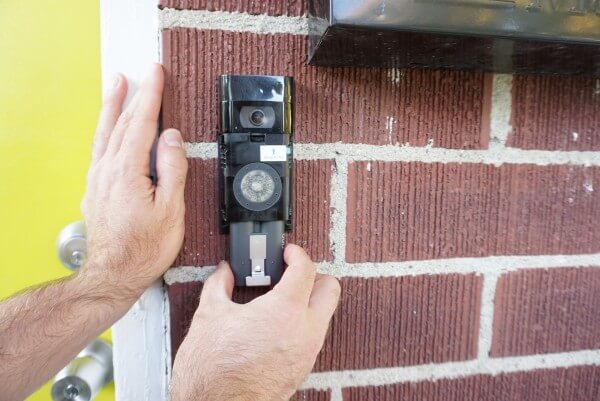
To set up a doorbell camera, the first step is to remove the existing doorbell. This involves unscrewing the faceplate from the wall. Use a screwdriver to carefully loosen and remove the screws holding the faceplate in place. Once the faceplate is removed, you will see the wiring behind it. To disconnect the wires, use a pair of wire strippers or pliers to loosen the screws that secure the wires to the terminal. Gently pull the wires away from the terminal and make sure they are free from any connections. It’s important to be cautious and gentle during this process to avoid damaging the wires or the doorbell system. Once the wires are disconnected, you can proceed with the installation of your new doorbell camera.
Mounting The New Doorbell Camera
Position the mounting bracket: Before you start the installation process, carefully choose the location for your doorbell camera. Make sure it offers a clear view of the area you want to monitor. Once you have decided on the ideal spot, position the mounting bracket accordingly.
Mark the screw holes: After positioning the bracket, use a pencil or marker to mark the spots where you will need to insert screws for mounting the camera. Take your time to ensure accurate placement.
Pre-drill the holes: To make the installation process smoother, pre-drill small holes at the marked spots. This will prevent the screws from slipping or causing damage during installation.
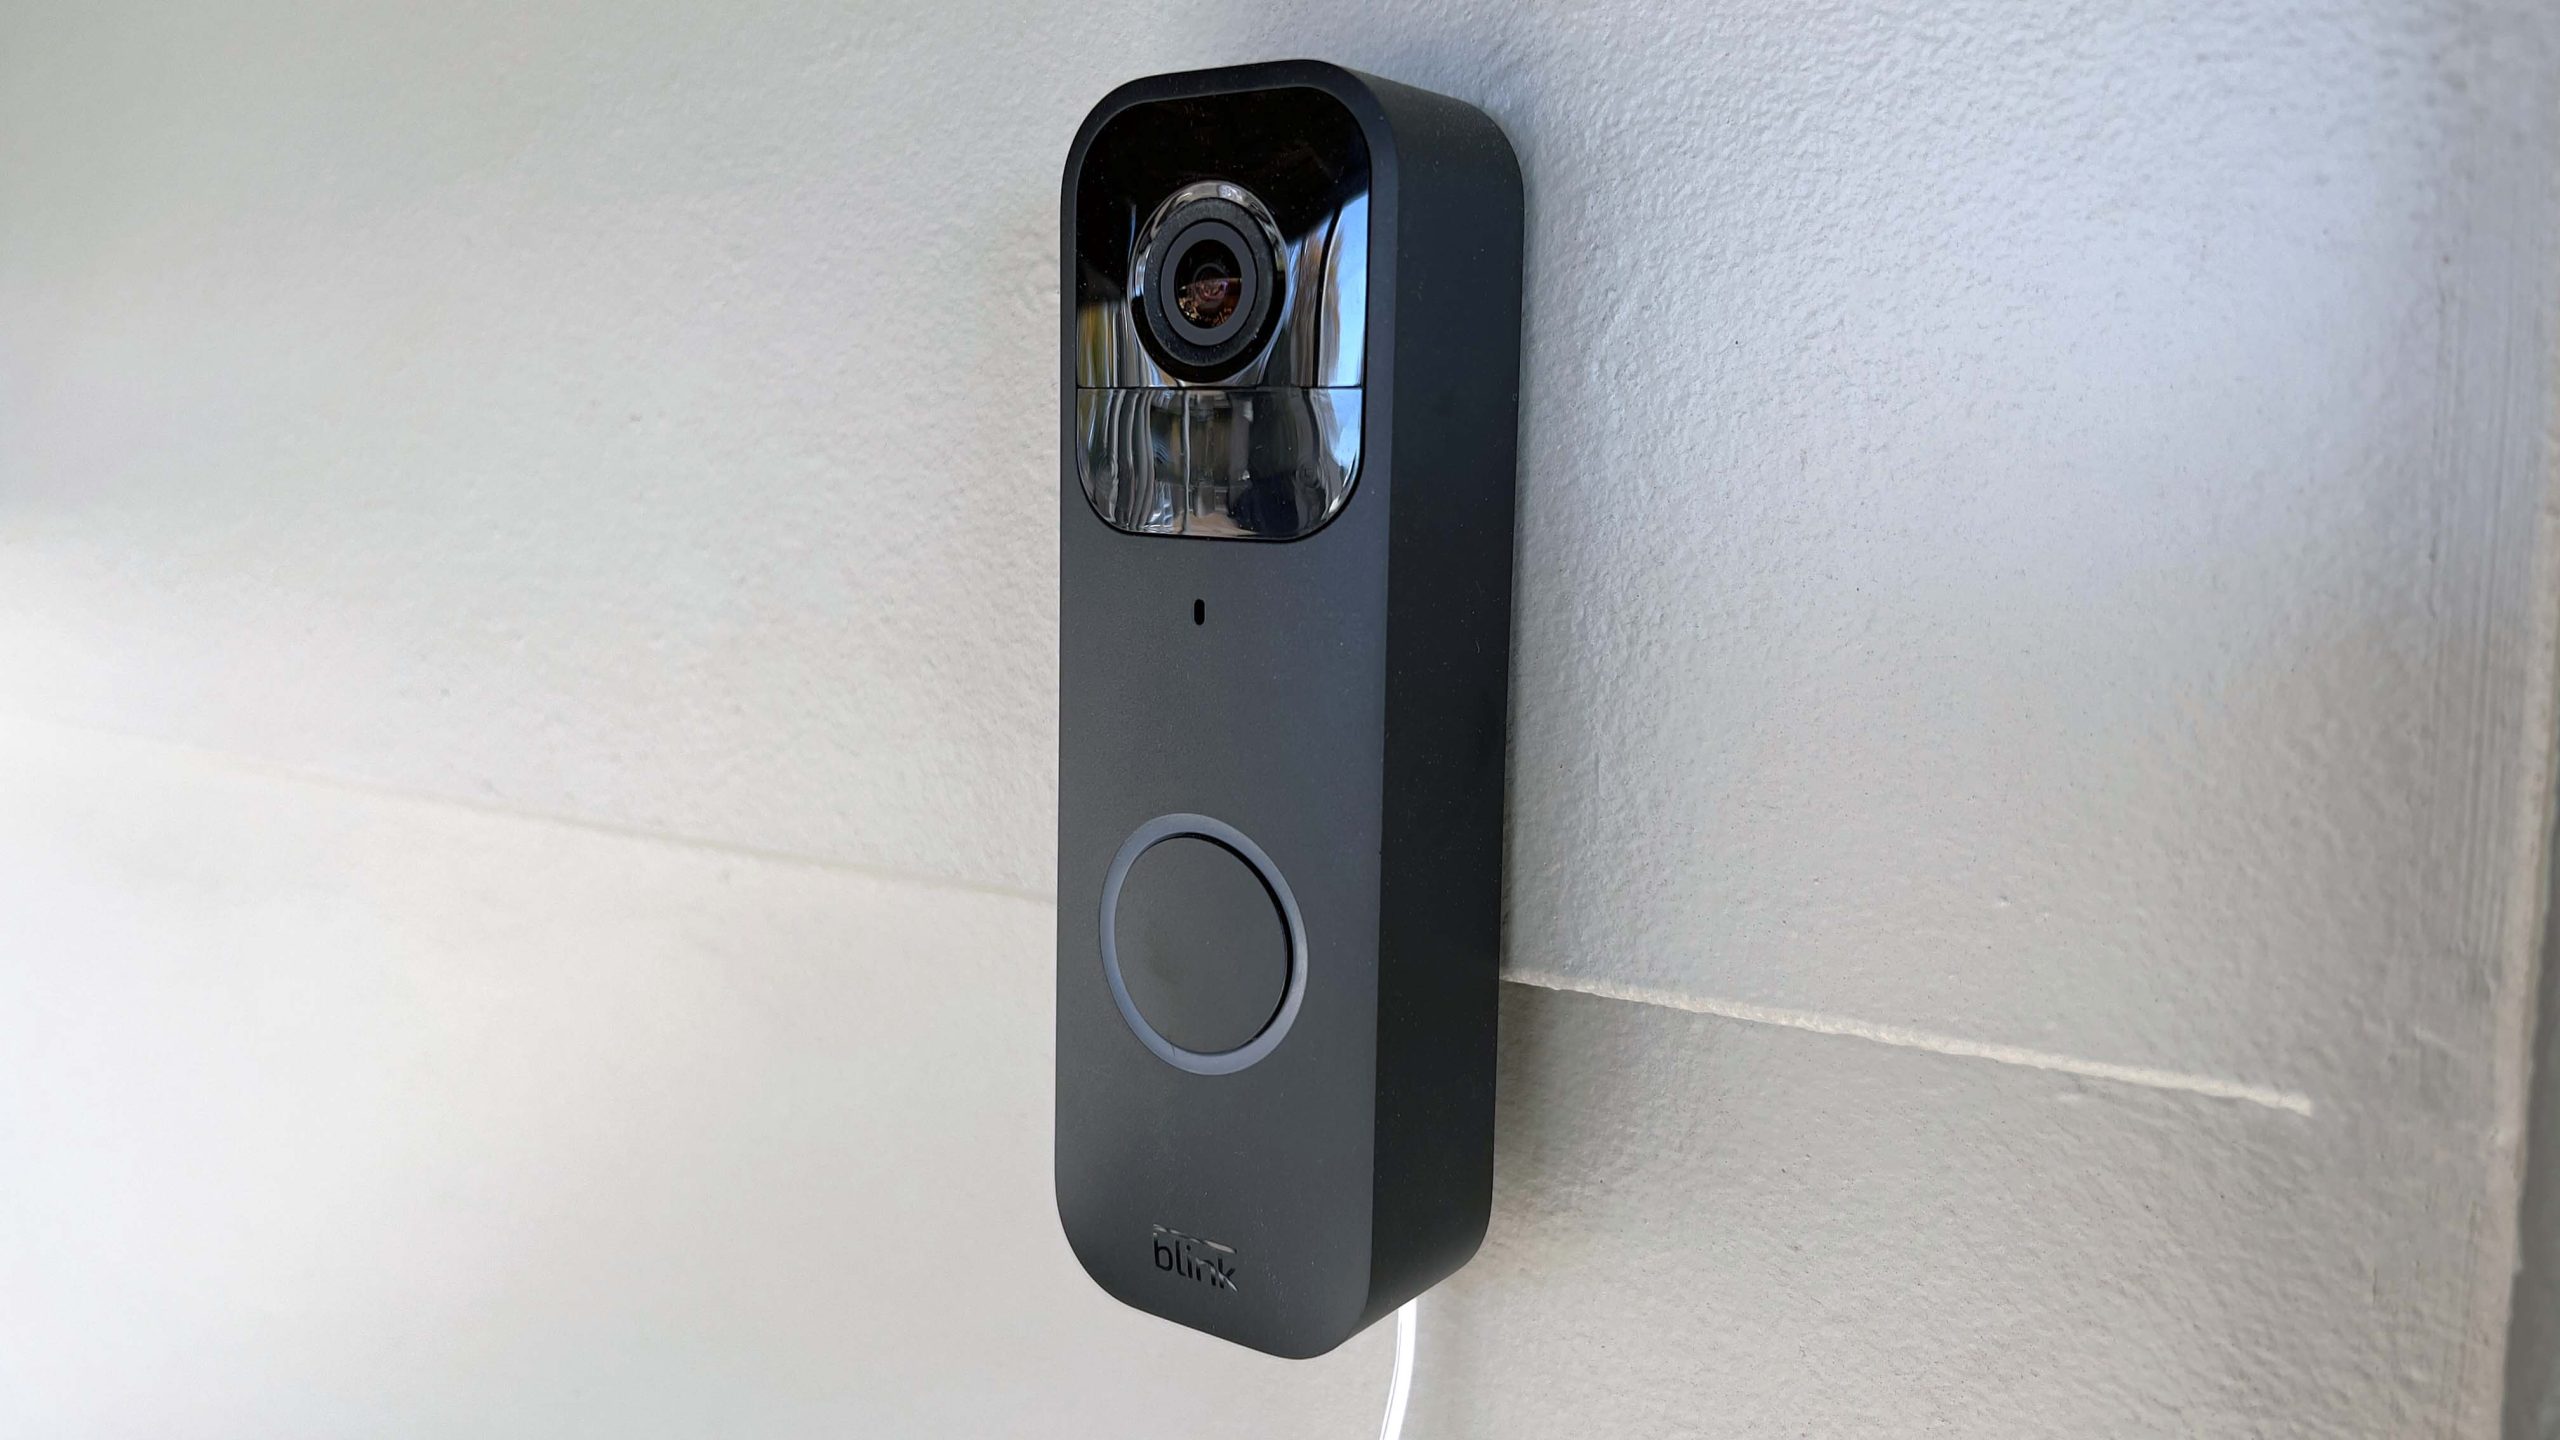
Attach the bracket: Now, it’s time to securely attach the mounting bracket to the chosen location. Align the bracket with the pre-drilled holes and use appropriate screws to fix it in place. Make sure the bracket is tight and properly aligned before moving on to the next step.
Connecting The Wiring
To set up your doorbell camera, start by connecting the wiring. Begin by stripping the insulation off the wires to expose the copper. Use wire strippers to carefully remove the outer covering. Next, connect the wires to the doorbell camera terminals. Make sure to match the wires correctly, usually matching colors or labels. Double-check for a secure connection to ensure proper functionality. Finally, attach the faceplate of the doorbell camera, following the manufacturer’s instructions. This will provide a finished look to your installation.
Restoring Power And Testing
To successfully set up your doorbell camera, it is important to restore power and test the device. Start by switching on the circuit breaker that controls the power supply to the doorbell area. This will ensure that the camera has the necessary electricity to function properly. Once the power is restored, proceed to test the doorbell camera to confirm its functionality.
To test the camera, wait for the doorbell to emit a sound or light up. This indicates that the device is receiving power and is ready for use. Press the doorbell button to check if it triggers the camera to capture video or send a notification to your smartphone. Ensure that all features, such as two-way audio or motion detection, are working as expected.
By following these steps, you can ensure that your doorbell camera is set up correctly, allowing you to monitor your home and enhance its overall security.
Downloading And Installing The Mobile App
To set up a doorbell camera, you first need to download and install the mobile app on your smartphone or tablet. Start by searching for the app in the app store. Once you find the app, click on the download button and wait for it to finish downloading. After the download is complete, you can proceed to install the app on your device.
Creating An Account
To set up a doorbell camera, the first step is to create an account. Open the app on your smartphone and start the sign-up process. Enter your personal information as prompted, including your name, email address, and preferred password. Once you have filled in all the required fields, click on the confirmation button to proceed.
After signing up, you will need to verify your email address. Check your inbox for an email from the doorbell camera service provider. Open the email and click on the verification link provided. This will confirm your email address and complete the account creation process.
Connecting The Doorbell Camera To Wi-fi
To connect your doorbell camera to Wi-Fi, you will need to access the settings of the app. Follow these steps:
- Locate the Wi-Fi setup option in the app’s settings.
- Tap on the Wi-Fi setup option to begin the process.
- Follow the on-screen instructions provided by the app to connect the camera to your Wi-Fi network.
- Make sure that you have the correct Wi-Fi network credentials handy as you may need to enter them during the setup process.
- Once the camera is successfully connected to your Wi-Fi network, you should be able to access its live feed and other features through the app.
By following these steps, you can easily connect your doorbell camera to Wi-Fi and start monitoring your home or property remotely.
Adjusting Camera Settings
Adjusting camera settings is an essential step when setting up a doorbell camera. To customize motion detection sensitivity, access the app’s settings menu and locate the motion detection section. Here, you can adjust the sensitivity level based on your preferences. It’s important to find the right balance, so you don’t receive false alerts or miss any important motions.
Night vision is another feature that can be enabled or disabled through the app’s settings menu. This allows for clear and detailed footage even in low-light conditions. You can toggle this setting on or off depending on the environment where your doorbell camera is installed.
Additionally, adjusting the audio volume and quality is possible through the app’s settings menu. This ensures that you can clearly hear and communicate with individuals at your door. Making sure the audio is at an appropriate volume and of good quality will improve the overall functionality and performance of your doorbell camera.
Testing The Doorbell Camera
If you are setting up a doorbell camera, it is important to thoroughly test its functionality. This includes ringing the doorbell to ensure that the camera’s motion sensors are working properly. It is also crucial to check the live video feed to ensure that the camera is capturing clear and crisp footage. Additionally, you should test the two-way audio feature to ensure that you can communicate effectively with visitors at your doorstep. By conducting these tests, you can have peace of mind knowing that your doorbell camera is functioning optimally and providing you with the security and convenience you desire.
Credit: www.safewise.com
Common Installation Issues
Setting up a doorbell camera can be a convenient way to enhance the security of your home. However, it is not uncommon to encounter common installation issues. One such issue is poor Wi-Fi connectivity, which can cause unreliable video streaming and delayed notifications. To address this problem, ensure that your doorbell camera is within range of a strong Wi-Fi signal and consider adding a Wi-Fi extender if needed.
Another common issue is compatibility problems with your existing devices or home security system. Before purchasing a doorbell camera, verify that it is compatible with your smartphone, operating system, and any other connected devices you may have. Additionally, double-check compatibility with your home security system to avoid any potential conflicts or limitations.
Lastly, inadequate power supply can hinder the proper functioning of a doorbell camera. Be sure to follow the manufacturer’s instructions regarding power requirements and ensure that your doorbell camera is properly connected to a reliable power source. Consider the use of a compatible transformer or power adapter if necessary.
Tips For Optimal Performance
To ensure the best performance from your doorbell camera, it is important to follow a few key steps:
- Regularly update firmware: Keeping the firmware up to date is crucial for the smooth operation of your doorbell camera. Check for firmware updates regularly and install them promptly.
- Keep the camera clean: Regularly clean the camera lens and housing to maintain clear visibility. Wipe away any dirt, dust, or smudges that may obstruct the camera’s view.
- Secure your Wi-Fi network: Protect your doorbell camera from unauthorized access by securing your Wi-Fi network with a strong password. This will help prevent any potential hacking attempts.
- Adjust motion detection sensitivity as needed: Fine-tune the motion detection settings to avoid false alarms. Depending on your specific environment, you may need to adjust the sensitivity to suit your preferences.
By following these tips, you can maximize the performance and functionality of your doorbell camera, providing peace of mind and enhanced security for your home.
Troubleshooting Guide
Having trouble with your doorbell camera? Follow these troubleshooting steps to get it back up and running:
- Check the power and internet connections. Make sure the camera is properly plugged in and that you have a stable internet connection.
- Restart the camera and router. Sometimes a simple restart can fix any temporary glitches. Turn off the camera and unplug it, then do the same for your router. After a few minutes, plug them back in and power them on.
- Reset the camera to factory settings. If the previous steps don’t work, you can try resetting the camera. Look for a reset button or option in the camera’s settings or user manual. Resetting the camera will erase any customized settings and return it to its original state.
By following these troubleshooting steps, you should be able to resolve most common issues with your doorbell camera. If problems persist, it may be necessary to contact the manufacturer or seek professional assistance.
Frequently Asked Questions On How To Set Up Doorbell Camera
How Do You Connect A Doorbell Camera?
To connect a doorbell camera, follow these steps: 1. Install the camera near your door. 2. Download the camera’s app on your smartphone. 3. Connect the camera to your home’s Wi-Fi network. 4. Follow the app’s instructions to complete the setup.
5. Test the camera to ensure it’s working properly.
How Do I Connect My Doorbell To Wi-fi?
To connect your doorbell to Wi-Fi, follow these steps: 1. Open your doorbell’s settings on the app. 2. Navigate to the Wi-Fi settings. 3. Select your Wi-Fi network. 4. Enter your network password. 5. Wait for the doorbell to connect to Wi-Fi, and you’re done!
What Do You Need To Set Up A Ring Doorbell Camera?
To set up a Ring doorbell camera, you’ll need a stable Wi-Fi connection, the Ring app installed on your smartphone, and a Ring account. Simply follow the app’s instructions to connect the camera to your Wi-Fi network, and you’re all set!
Do Doorbell Cameras Need Wi-fi?
Yes, doorbell cameras require Wi-Fi to function properly. Wi-Fi enables the camera to transmit video and audio data to your smartphone or other devices. Without Wi-Fi, the camera cannot connect to the internet or send notifications when someone rings the doorbell.
Conclusion
Setting up a doorbell camera may seem daunting at first, but with the right guidance, it can be a breeze. By following the step-by-step instructions provided in this blog post, you can ensure a smooth installation process and enjoy the convenience and security that a doorbell camera brings.
Remember to choose a suitable location, connect it to your WiFi, and customize the settings as per your preferences. With a doorbell camera in place, you can enhance the safety of your home and have peace of mind knowing that you’re always connected to what’s happening at your doorstep.
Leave a Reply