To wire a doorbell camera, you will need to follow specific steps to ensure proper installation and functionality. We will guide you through the process of wiring a doorbell camera, providing clear and concise instructions to help you complete the task successfully.
Whether you are a DIY enthusiast or a professional installer, these guidelines will help you wire your doorbell camera effectively, enhancing your home security and convenience. So, let’s dive in and learn how to wire a doorbell camera in a few simple steps.
Benefits Of Having A Doorbell Camera
Having a doorbell camera offers increased security and peace of mind for homeowners. The ability to monitor visitors remotely is one of the key advantages of this technology. With a doorbell camera, you can see who is at your doorstep without having to physically open the door. This allows you to assess the situation and decide whether or not to answer the door, enhancing your personal safety. Moreover, a doorbell camera acts as a deterrent to potential intruders. The presence of a visible camera can discourage criminals from attempting to break into your home, as they know they are being watched. This added layer of security can help protect your property and loved ones.
| Benefits of Having a Doorbell Camera: |
| Increased security and peace of mind |
| Ability to monitor visitors remotely |
| Deterrent to potential intruders |
Tools And Materials Needed
To wire a doorbell camera, you will need a few essential tools and materials. First, make sure you have a doorbell camera kit, which includes the camera unit and necessary wires. Additionally, you will need a screwdriver to remove the old doorbell if you are replacing it. Wire strippers are imperative for removing the insulation from the ends of the wires. Lastly, electrical tape will be useful for securing and insulating the connections.
Preparing For Installation
To successfully wire a doorbell camera, it’s essential to understand the camera system components and properly locate the existing doorbell wiring. Firstly, let’s familiarize ourselves with the camera system components. The key components typically include the doorbell camera, a power supply transformer, and a chime box. These components work together to enable the doorbell camera’s functionality.
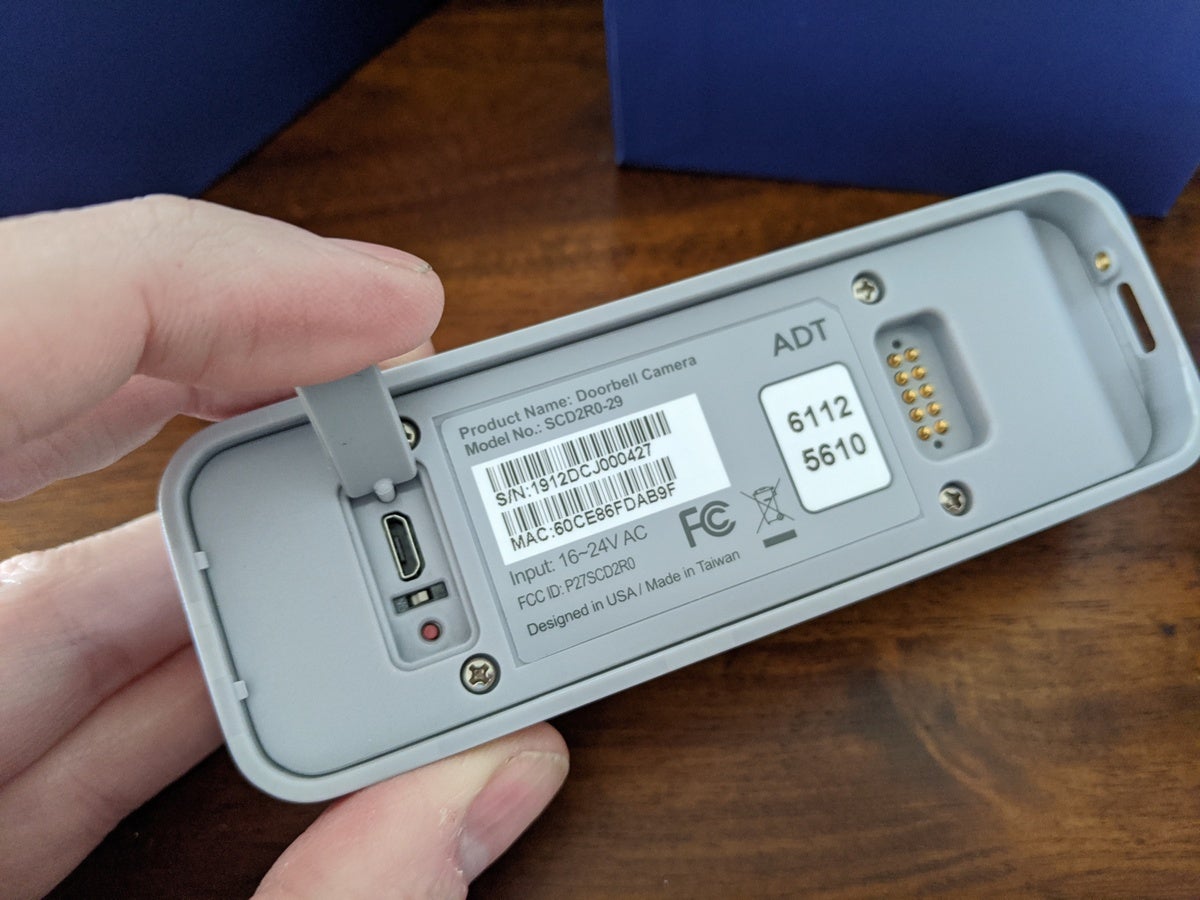
Once you’ve gained a clear understanding of the camera system components, the next step is to locate the existing doorbell wiring in your home. The doorbell wiring is usually found near your front entrance, commonly near the doorframe. To ensure safety during the installation process, remember to turn off the power using the appropriate circuit breaker before working with any electrical connections.
Step-by-step Guide To Wiring The Doorbell Camera
To wire a doorbell camera, follow this step-by-step guide:
- Remove the existing doorbell button. Carefully unscrew and detach the old button from the wall.
- Disconnect the wires from the old doorbell. Identify the wires (typically labeled as ‘front’ and ‘trans’) attached to the old doorbell and gently disconnect them.
- Connect the wires to the doorbell camera. Take the wires previously detached from the old doorbell and connect them to the appropriate terminals on the doorbell camera. Ensure a secure and proper connection.
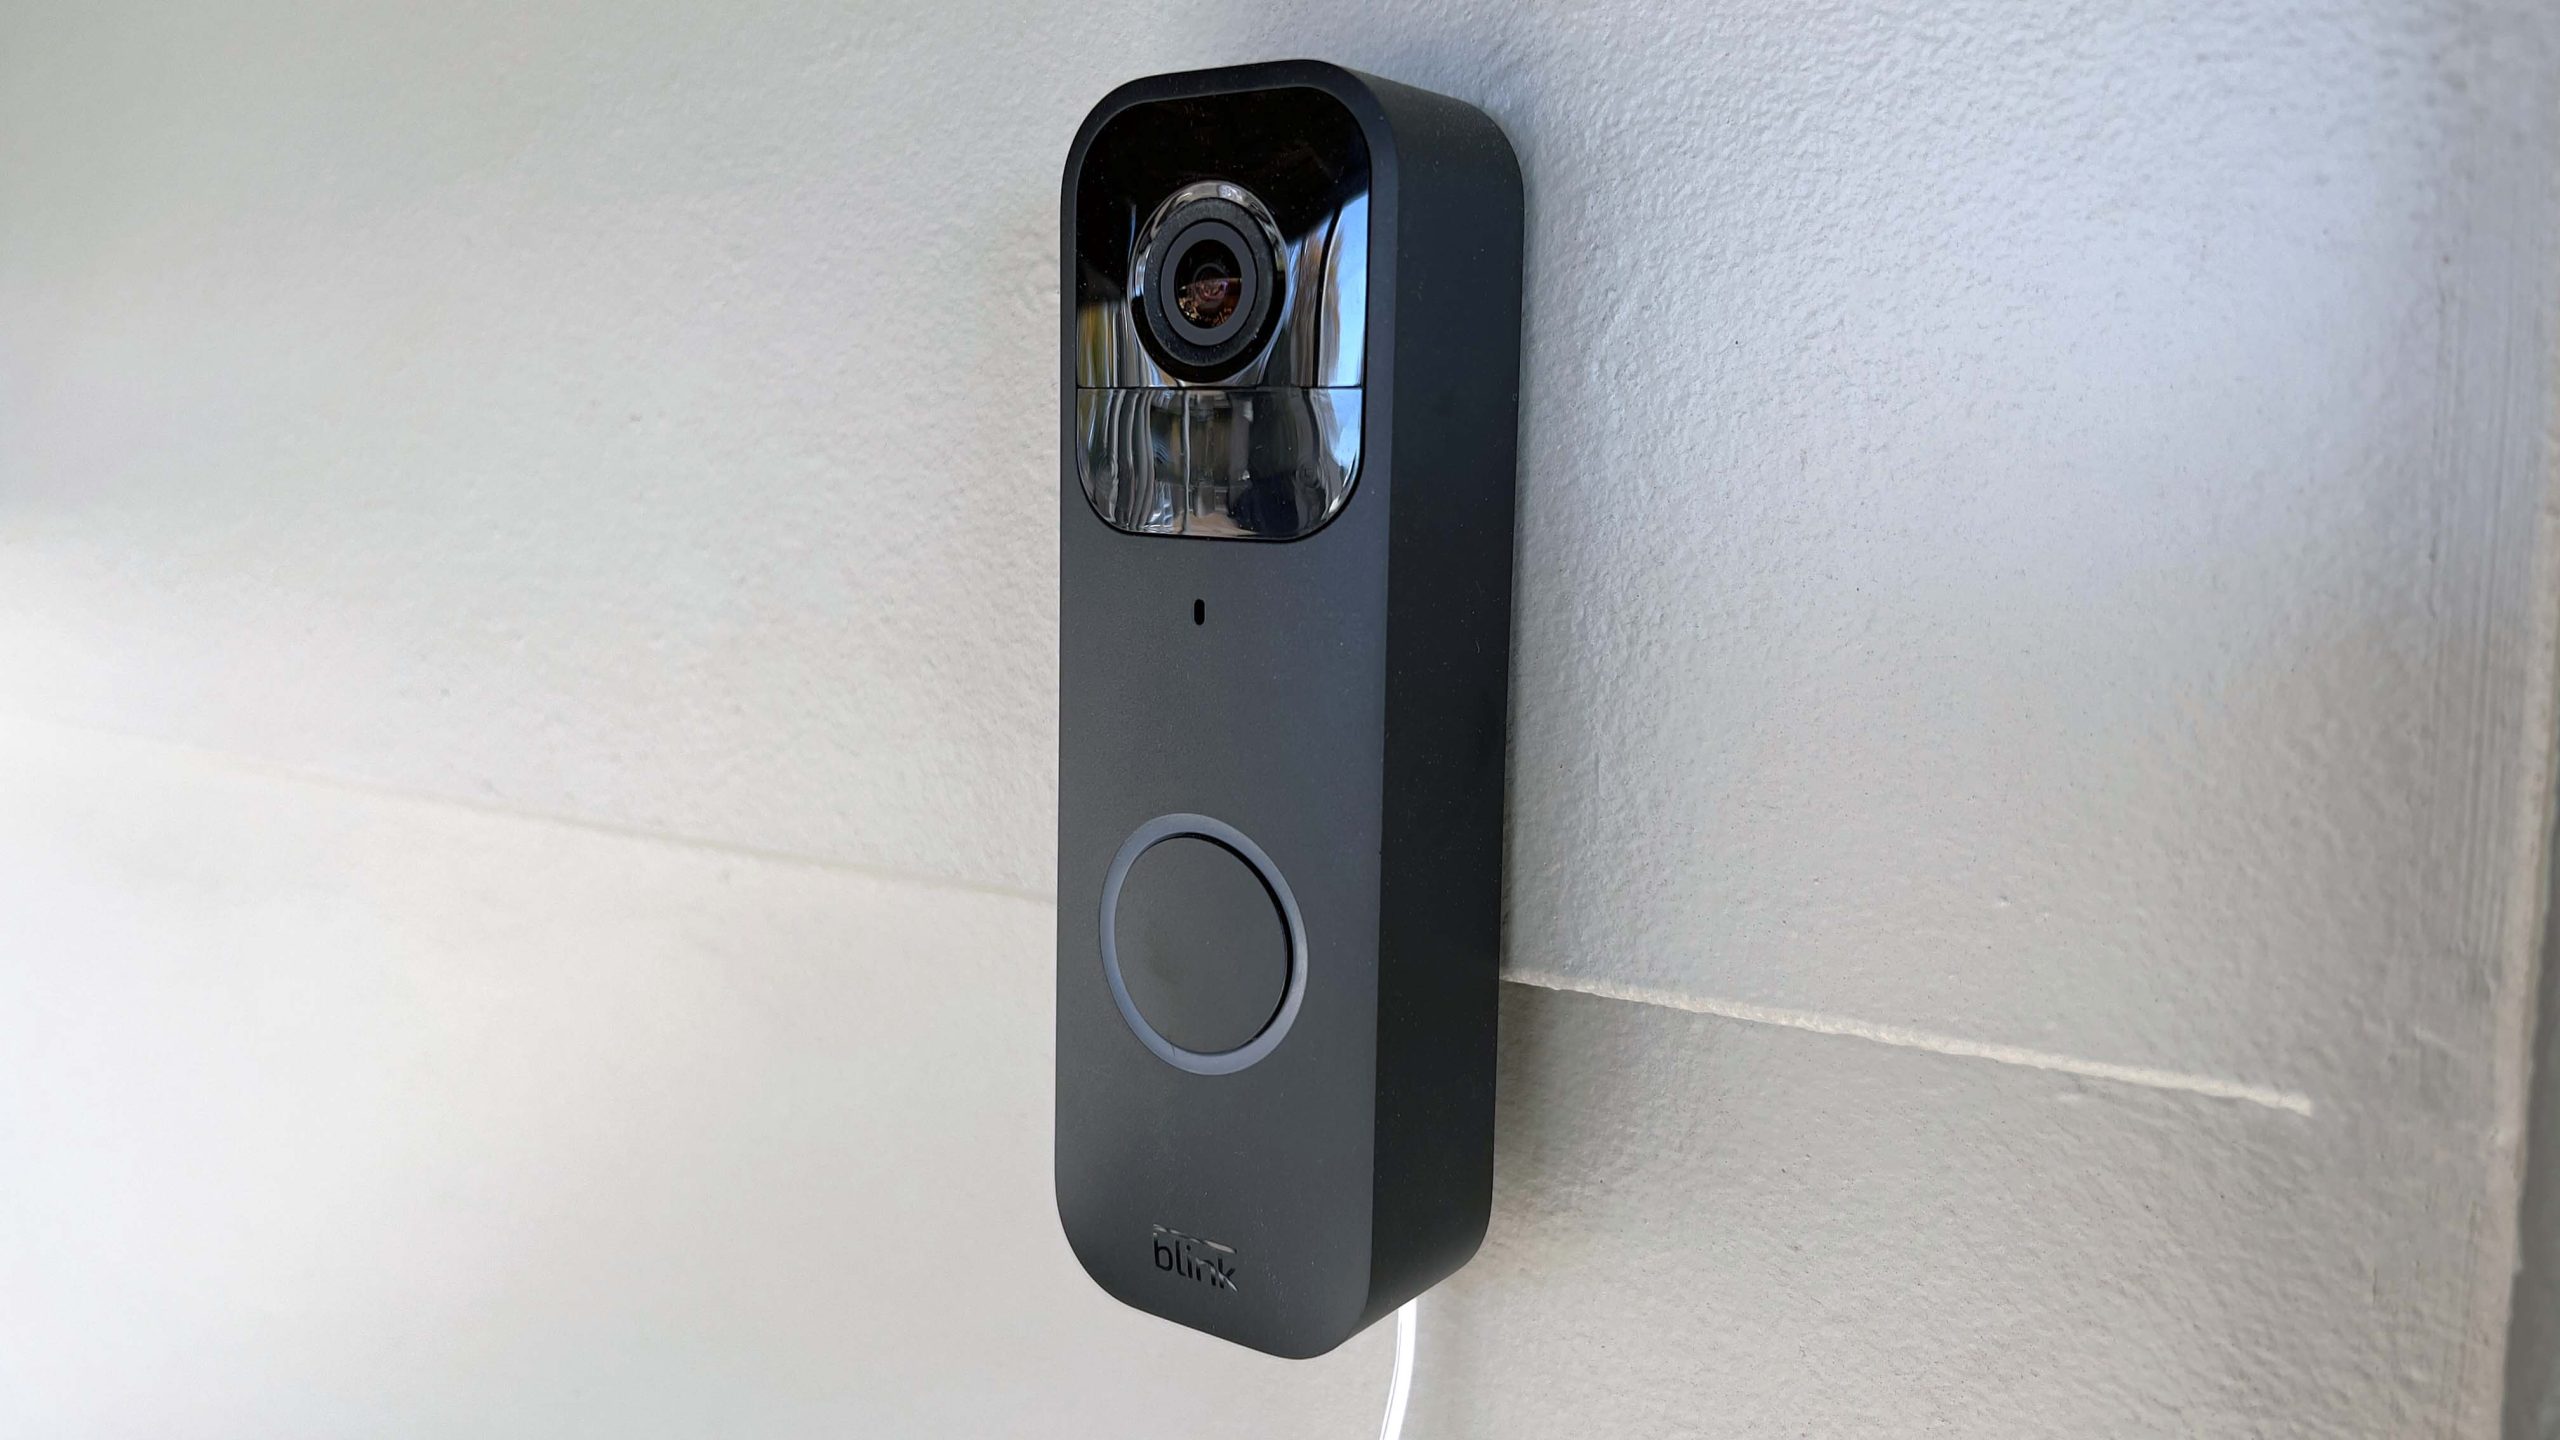
- Mount the doorbell camera on the wall. Select a suitable location near your front door and securely attach the camera using the provided mounting brackets and screws.
Testing The Doorbell Camera
To test the functionality of the doorbell camera after wiring it, follow these steps:
1. Turning the power back on:
– Ensure that the power supply to the doorbell camera is turned off before starting the testing process.
– Locate the circuit breaker panel or the fuse box and switch on the power supply to the doorbell camera.
2. Checking the camera’s video feed:
– Open the camera’s mobile application or web interface to access the live video feed.
– Ensure that you can see a clear and high-quality video stream from the camera.
3. Testing the doorbell functionality:
– Press the doorbell button to simulate a visitor ringing the bell.
– Check if the doorbell sound is audible from the chime unit or your smartphone.
– Verify that you receive a notification on your smartphone indicating that someone is at the door.
– Test the two-way audio communication feature by speaking into your smartphone and listening for a response from the doorbell camera.
– Repeat these steps a few more times to ensure consistent functionality.
By following these simple testing procedures, you can ensure that your newly wired doorbell camera is working properly and ready to enhance the security of your home or office.
Troubleshooting Common Issues
Having trouble with wiring your doorbell camera? Learn how to troubleshoot common issues with step-by-step instructions for a seamless installation. Expert tips and tricks ensure a hassle-free setup process.
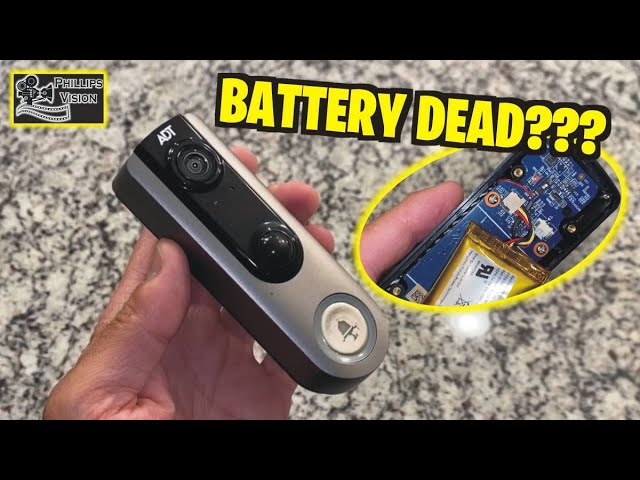
No Power To The Doorbell Camera
If you are experiencing no power to your doorbell camera, there are a few possible solutions. First, check the wiring connections to ensure that everything is properly connected. Inspect the wires for any damage or loose connections that may be causing the power issue. If everything appears to be in order, verify that the power source is working correctly. This can be done by testing the voltage with a multimeter. If the power source is functioning properly, the issue may lie with the doorbell camera itself. In this case, it is recommended to contact the manufacturer for further assistance or to request a replacement.
Poor Video Quality Or Connection
Poor video quality or connection issues can be frustrating, but there are a few steps you can take to address the problem. Firstly, check your internet connection to ensure that it is stable and strong enough for the camera to transmit clear video footage. Reboot your router and try moving it closer to the doorbell camera if possible. If the issue persists, check the camera’s video settings to ensure they are set to the highest quality available. Lastly, clean the camera lens to remove any dirt or smudges that may be affecting the video quality.
Malfunctioning Doorbell Button
If your doorbell button is malfunctioning, you may need to replace the button. Begin by turning off the power to the doorbell camera system. Next, remove the existing button by unscrewing it from the wall. Disconnect the wiring and attach the new button following the manufacturer’s instructions. Once installed, restore power to the system and test the button to ensure it is functioning properly. If the issue persists, it may be necessary to contact a professional to diagnose and repair any underlying electrical problems.
Best Practices And Safety Tips
When installing a doorbell camera, it is crucial to follow the manufacturer’s instructions for proper installation and operation. This ensures that the camera functions as intended and reduces the risk of any potential issues. Additionally, it is important to take certain safety measures to avoid electrical shock hazards that may arise during installation. This includes turning off the power supply before initiating any wiring work and using insulated tools to minimize the risk of electric shocks.
Furthermore, protecting the doorbell camera from weather elements is essential to maintain its functionality and longevity. Exposing the camera to excessive rain, snow, or direct sunlight can potentially damage its components. Therefore, it is recommended to install the camera in a sheltered area or utilize weatherproof housing that can safeguard the camera from environmental factors.
Additional Features And Integration Options
When wiring a doorbell camera, it is important to consider the additional features and integration options that are available. One way to connect the doorbell camera to a smartphone app is through a wireless connection. This allows users to view live video feed from their doorbell camera directly on their smartphone, no matter where they are. Another option to consider is integrating the doorbell camera with a home security system. This provides an added layer of security by allowing the camera to work in tandem with other security devices, such as motion sensors or door/window sensors. Additionally, utilizing cloud storage for video recordings is a convenient way to store and access footage. With cloud storage, users can easily review and download recordings if needed. Overall, the additional features and integration options available for doorbell cameras can greatly enhance home security and provide peace of mind.

Credit: m.youtube.com
Frequently Asked Questions For How To Wire Doorbell Camera
How Do I Connect My Doorbell Camera?
To connect your doorbell camera, follow these steps: 1. Download the camera’s app from your phone’s app store. 2. Create an account and log in. 3. Follow the app’s instructions to connect the camera to your Wi-Fi network. 4. Position the camera near your door.
5. Sync the camera to your app and customize the settings.
How Do You Hardwire A Ring Doorbell Camera?
To hardwire a Ring Doorbell camera, connect the wires from the device to your existing doorbell wiring. Make sure to turn off the power, remove the old doorbell button, and attach the red and green wires from the Ring Doorbell to the existing wires.
Finally, turn the power back on and follow the setup instructions.
How Is My Doorbell Wired?
Your doorbell is wired using low-voltage wiring that connects it to a transformer. The transformer reduces the voltage and the wires connect to the doorbell button. When you press the button, it completes the circuit, activating the doorbell chime.
Does Doorbell Cameras Need To Be Hardwired?
No, doorbell cameras do not necessarily need to be hardwired. Some models can be battery-powered for easy installation.
Conclusion
Installing a doorbell camera may seem daunting, but with the right knowledge and guidance, it can be a straightforward process. By following the step-by-step instructions provided in this blog post, you can wire your doorbell camera easily and effectively. Remember to gather all the necessary tools and materials beforehand to ensure a smooth installation process.
Now, you can enjoy the added convenience and security that a doorbell camera brings to your home. Happy wiring!
Leave a Reply